Sunday, July 5, 2015

June Was Abloom with Colors of Summer

Trying to achieve all-season color in all of my garden beds hasn't been quite that easy. Ok, yes, most of the beds do have some flowers blooming in them but not as many as I would like nor as colorful. I've achieved that aspiration in only one of my garden beds, and that's why this post won't show all of the beds that I posted in the spring. A wall of green leaves and clumps simply isn't that interesting. That's "evil eye gardening" as Dorothy Sucher would say. She came up with that term for the gardener that disparages her garden fearing the evil eye if she praises her garden too much. As Dorothy discerningly said in her book, The Invisible Garden, "The gardener is always painfully aware of the gap between the dream and the reality...whatever is achieved is nevertheless a betrayal of that first radiant vision".

How true that is! When I first set out to create my garden 5 years ago, I envisioned winding paths through lush gardens, an arbor loaded with pink new dawn roses, a gleaming, twinkling pond with the soothing sound of a small waterfall, vegetable beds full of plump veggies and a front cottage garden hiding the view of the busy street. Well, that hasn't been the reality. The good news is I can always keep trying. I'm just too impatient though...sigh. The reality is that my garden beds are too small, I planted things way too closely so now I have no room for that winding path for two to walk along side by side and the pond is surrounded with weeds. As for the front cottage garden, the white picket fence isn't happening. Oh bother, as Pooh says...


In June, the brightest, boldest bed was filled with purple coneflowers, butterfly weed, bee balm and wild bergamot, Stella de Oro daylillies, and coreopsis. It's the garden bed next to the drive way with a small, narrow unfinished brick path. I love its bold bright tones of gold, orange, purple and hot pink. In the spring, this bed was full of beautiful peonies, irises, bearded iris and tulips. As pretty as it it now, its missing a certain je ne sais quoi.


The brick path leads to the bird bath where more purple coneflowers grow along with Culver's Root, white phlox, oakleaf hydrangea, fothergilla and tall panic grass. I just put in a circle trellis and planted a clematis vine that will eventually grow over it. Never cared to have clematis in my garden before but I couldn't resist getting this one because of its name, Clematis, Duchess of Edinburgh. Sounds so lovely, maybe it'll give my garden an air of a formal romantic garden. Maybe romantic country garden is more like it since I have several barn birdhouses and that wooden red wheelbarrow.


View of the oakleaf hydrangea above the bird bath and the fothergilla to left of the hydrangea. They'll have pretty fall foliage!

Better view of the circle trellis in a temporary spot, and unfinished brick path...ran out of bricks :(

One of my favorite birds after chickadees and titmice are goldfinches. Their bright yellow color stands out among the green leaves and flowers. I took these photos from inside the house.


Tucked away in the back of the yard is the woodland garden with a dry stream bed running along its edge. More like woods' edge since there's just one deciduous tree there and some evergreens which are small so not too shady like a true woodland. Here the milkweeds, sundrops, wild bergamot and wet tolerant shrubs keep their feet wet along the stream bed that holds water when it rains (the stream bed needs to be redone since most of the rocks have been covered by weeds and years of fallen leaves covering over). I recently planted a campanula and larkspur but they have yet to bloom. Fingers crossed they'll do well. The cardinal flower that I planted two summers ago didn't come back. Not sure why since it prefers wet sites.

Clockwise from top left: 1: Milkweeds (pink blooms), Guara whirling butterflies (white blooms), wild bergamont (lavendar color); 2: Milkweed, Asclepias Incarnata; 3: Coreopsis American Dream; 4: Milkweed that planted itself by Tim's shed; 5:Center pic, yellow rose. 
The front beds and other side beds aren't blooming so much. They're just a wall a of green and a few flashes of color here and there so I need to place new plants that will bloom in that transition period after spring and during early summer. What's in the front bed now will be in bloom a bit later this summer and the solidalgo and anemone in late summer/early fall but I'd like to see some color all throughout the season especially in this bed since I can see it from the living room. It looked pretty with the hollyhocks earlier but I removed them because they got ugly nasty rust spots on them.

Front yard bed with purple coneflowers in bloom.

All green, just the yellow rose and milkweed in bloom. Needs more color and texture! I started planting grasses for texture like the little blue stem and switchgrass.

And so that's it for now. Hope to show you the veggies and pond in a future post.


Saturday, May 30, 2015

Springtime Blooms from April through May

What a beautiful spring season we had! The cool days were brisk and refreshing and I miss that. Perhaps it was that which prolonged the bloom time of my flowers or maybe spring just seemed longer because I had more time to enjoy it without all of the stress of planning our spring conference. Whatever the reason, the flowers were all too happy and gave a great display all season long, I was even able to keep up with most of the weeds.

Flowering Trees - early April


The redbud and serviceberry trees were among the first to bloom followed by the pink dogwood tree.


Redbud tree in foreground on left; Pink dogwood in background.


View of front yard from the living room.


The serviceberry tree doesn't seem too impressive in this picture but it's a beautiful, sweet little tree in person. I wish more nurseries would sell these gorgeous little native trees. 


Serviceberry flowers

Spring Bulbs - April


A little planning in the fall paid off. I planted several bulbs all around the front gardens and for the first time tried layering bulbs. It's a planting technique where you dig a very wide and deep hole and plant bulbs that bloom a few weeks apart at different depths (the layers) based on the bulb's depth requirement. This works great in containers too. It was wonderful to have a continuous display of flowers in the same spot. The three pics below show this; first the daffodils, then the white narcissus, then ending with the pink tulips. Sadly I missed getting more pictures of the tulips but you can see one or two starting out.


Blue and pink hyacinths, purple tulips and reliable good ole' pansies.

Other Flowers - late April-May


Virginia spiderwort (blue flowers) and Green and gold - chrysogonum virginianum - little yellow star-like flowers in back.

Virginia Spiderwort, tradescantia virginiana

Viola White Czar

Yellow Jasmine; Gelsemium sempervirens

Yellow jasmine vine on birdhouse/feeder pole.

Fothergilla


Peonies - May


I can't remember having such an abundance of peonies in past as I did this year. From early May through now, I've been able to cut armfuls of peonies. I had so many, that once a week I would take bunches of them to share with friends.


Peonies, yellow roses, coreopsis, and showy evening primrose (oenothera speciosa) filling the foreground and all over.

Roses - mid-late May


Pale pink climbing roses on arbor in the back yard.

The scent of these roses is amazing.


Virginia rose is a fast spreading rose shrub. I've planted it in the front yard to create a pretty screen/hedge to block the view of the road.


Virginia rose, rosa virginiana

The two purple flowers in the foreground from left to right - catmint nepeta and babtisia australis.


Now, I wait for summer/later summer flowers to start blooming. It will be spectacular but I will miss my spring darlings.

Till June!

Tuesday, April 14, 2015

Faux Transom Window

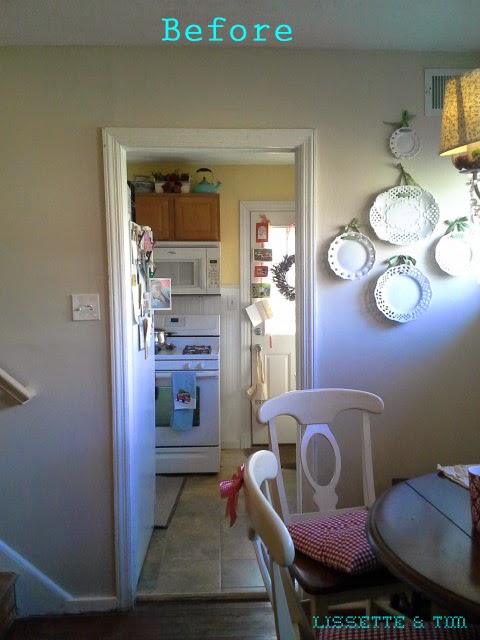
Nothing makes a statement in a house like decorative moulding and beautiful architectural detail. It gives a house character and timeless beauty. This is seriously lacking in our house. Built in the 1950s, our cape style tract home had few custom details.  They were built for affordability which is not a bad thing. Little by little, we've updated the moulding in a few rooms and added other decorative details in the living room. It's nice, but it still seemed to be missing something. So I decided to add a faux transom window above the entry way into the kitchen.  I love it! Instant character.

Transom windows are beautiful and practical in that they let light in and let air circulate through rooms even if the door is closed. They were more common in older homes before air conditioners came around. These days, they are mostly decorative. I would love to have real transom windows but since we can't, faux will do.
http://www.amybergquist.com/blog/wp-content/uploads/2011/11/Transom.jpg

Here's how I made mine:

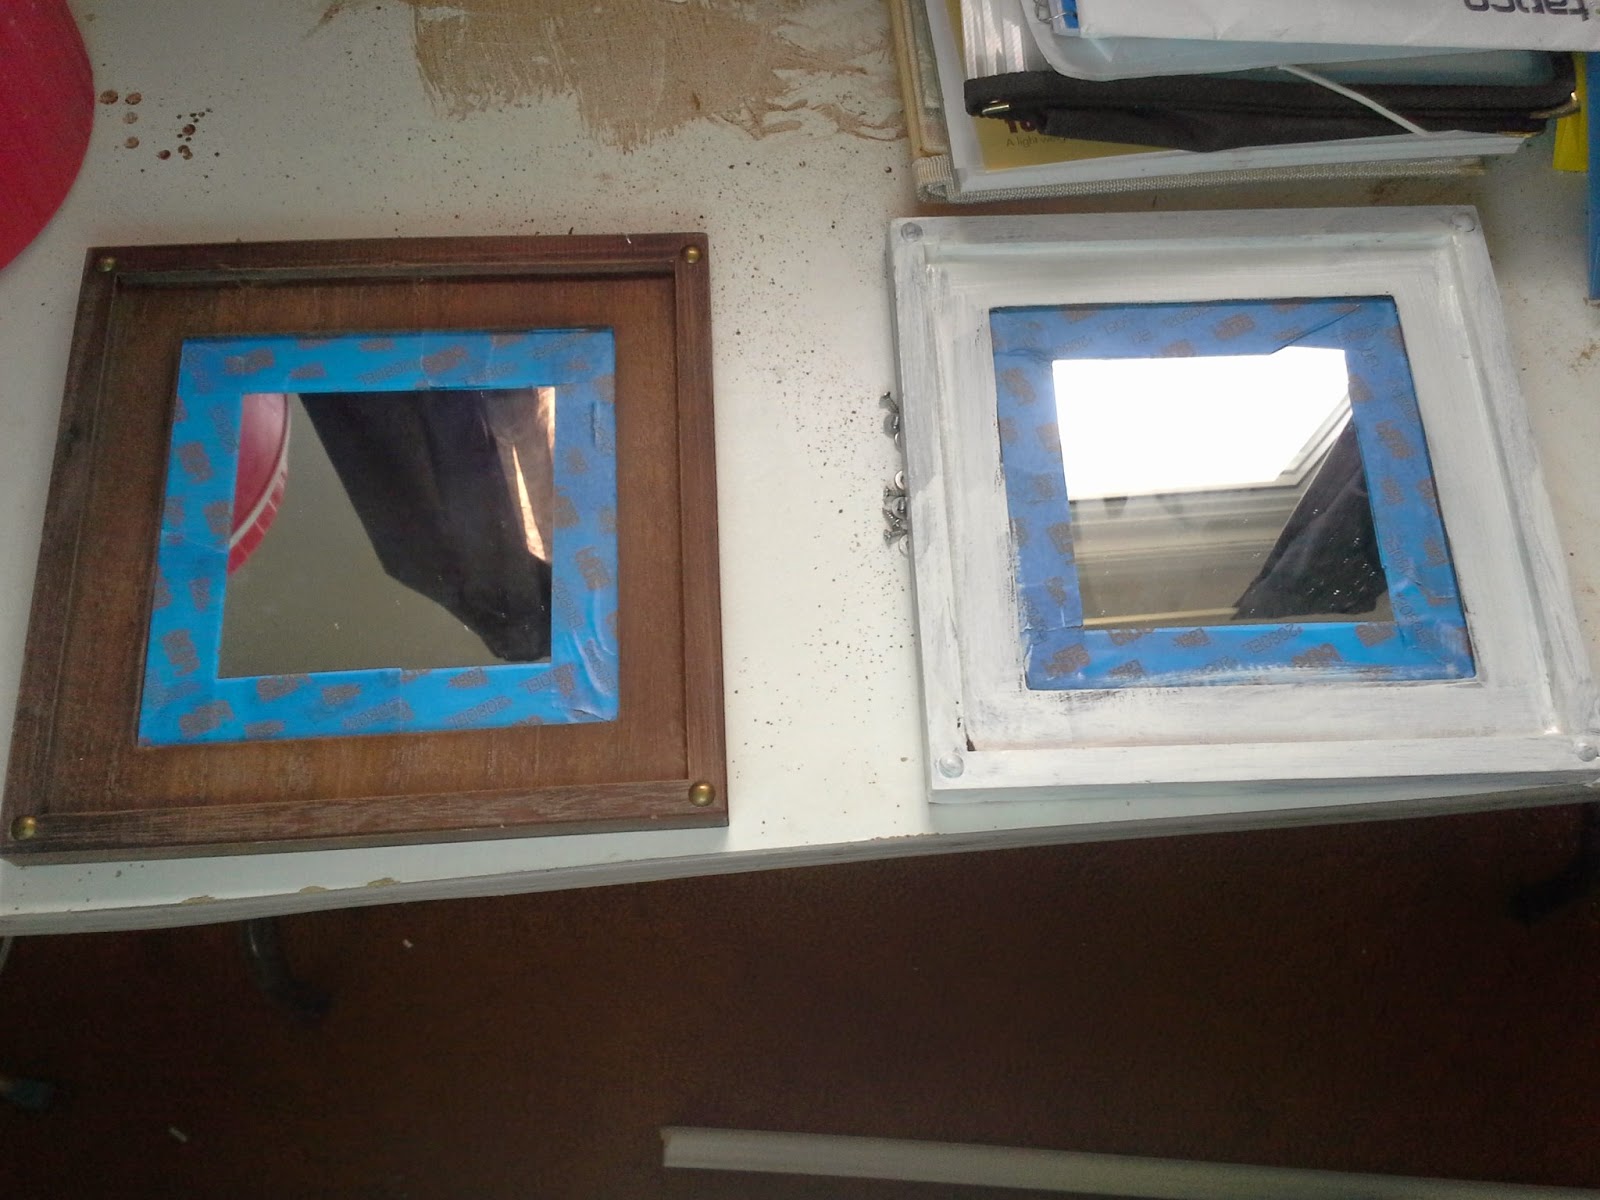
1. Purchased 3 - 9" square mirrors.  Luckily they fit perfectly in the space above the doorway ~ 32" wide measured from outer edge of the trim.


2. Painted the mirrors in matching color of the doorway trim.


3. Cut 2 1/2" wide trim pieces to fit around the sides of the mirrors.  For the top piece, I used a decorative door and window casing and cut the ends on a 45 degree angle with a mitre box. 

4. Hung the mirrors in place spacing them out a bit to fit into the transom area.  There were gaps between the mirrors but this just gave the transom more dimension. Then nailed the trim pieces around the mirrors frames. Filled in the nail holes and touched up the paint. 


I got my inspiration from Diane at http://inmyownstyle.com/; she has a more detailed step by step process for this project using a different method. 


Enjoy!

Lissette