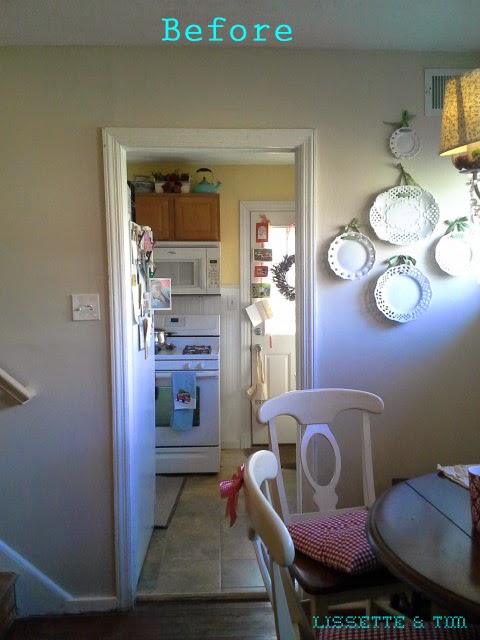
Transom windows are beautiful and practical in that they let light in and let air circulate through rooms even if the door is closed. They were more common in older homes before air conditioners came around. These days, they are mostly decorative. I would love to have real transom windows but since we can't, faux will do.
 |
| http://www.amybergquist.com/blog/wp-content/uploads/2011/11/Transom.jpg |
Here's how I made mine:
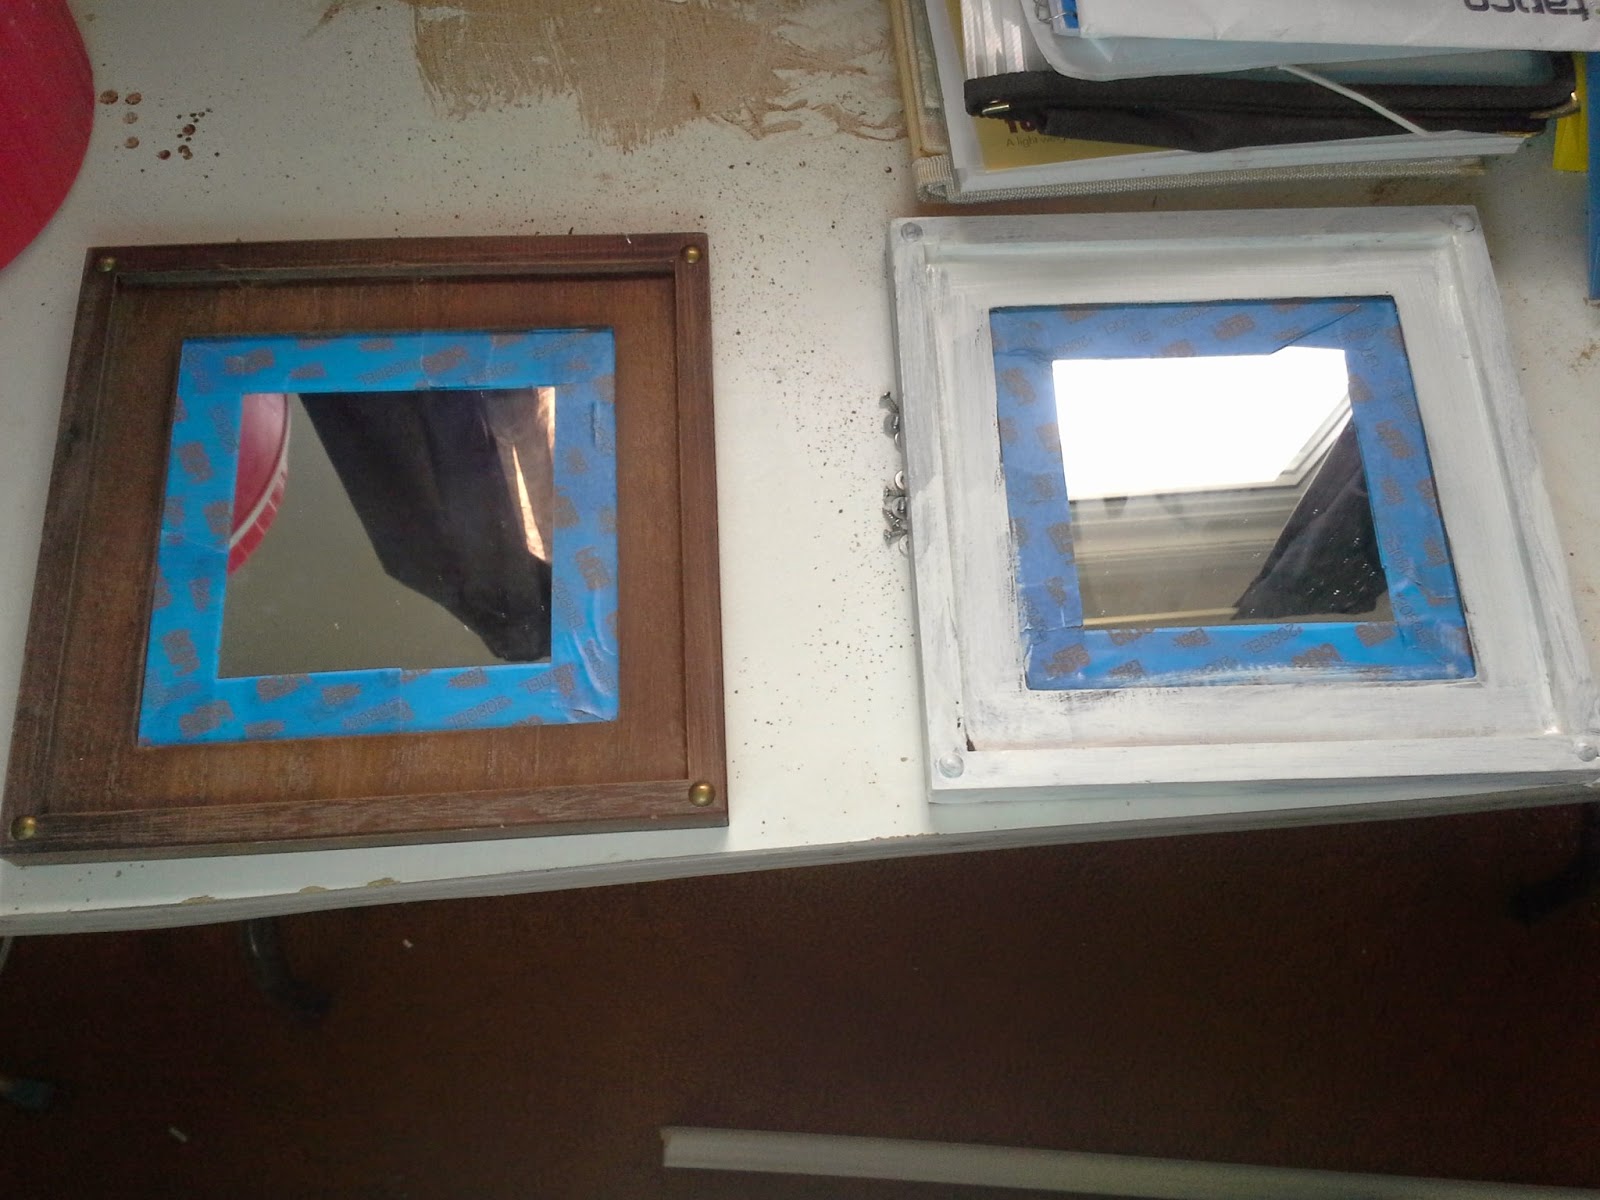
1. Purchased 3 - 9" square mirrors. Luckily they fit perfectly in the space above the doorway ~ 32" wide measured from outer edge of the trim.
2. Painted the mirrors in matching color of the doorway trim.
3. Cut 2 1/2" wide trim pieces to fit around the sides of the mirrors. For the top piece, I used a decorative door and window casing and cut the ends on a 45 degree angle with a mitre box.
4. Hung the mirrors in place spacing them out a bit to fit into the transom area. There were gaps between the mirrors but this just gave the transom more dimension. Then nailed the trim pieces around the mirrors frames. Filled in the nail holes and touched up the paint.
I got my inspiration from Diane at http://inmyownstyle.com/; she has a more detailed step by step process for this project using a different method.
Fake Transom for Doorway: http://inmyownstyle.com/2011/08/how-to-make-a-fake-transom-for-a-doorway.html
Enjoy!
Lissette


